 DL1EGL
Vertical multi-band antenna – Cutting Chart
Cut the active element wire (radiator) to the specified wire length (see Column: Wire length“. Attach the banana plug to one end of the wire. Make a fold back at the other end of the wire (length see column „Foldback Lenght“ and attach the 3d printed „Loop Maker“. Cutting chart active elements (radiators): Band Element … Weiterlesen
Vertical multi-band antenna – threading the radiator elements
There are two options for threading the radiator elements. Either via the threading gap. This is a good option if the radiator elements are thickened with shrink tubing at this point. In this case, the radiator element can simply be threaded through the gap. The second option is to close the gap with a cable … Weiterlesen
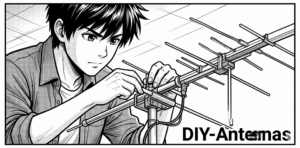
Vertical multi-band antenna concept
The VMA3D is based on the M0MCX concept for a vertical multi-band antenna with radiator for the corresponding amateur radio bands. Once tuned, the antenna does not require an antenna tuner and thus enables a quick band change. What makes the VMA3D stand out is the integrated clamping device with which the plates and clamping … Weiterlesen
Vertical multi-band antenna – 3d printed clamping rings
The individual elements of the GFA mast are secured with 3D printed clamping rings. The clamping rings always sit on the lower transition. The advantage of using the clamping rings is that the GFA elements only need to be lightly clamped together, which simplifies dismantling. Top view Bottom view The opening for inserting the M5 … Weiterlesen
Vertical multi-band antenna – 3d printed radiator plate
The 3D print for holding the radiation elements is printed with PETG filament and has the same basic concept as the base plate. The only difference here is that angled 4 mm banana plugs are used instead of the straight 4 mm banana plugs. The radiant elements of the radiator plate are connected to the … Weiterlesen
Vertical multi-band antenna – 3d printed base plate
Base plate printed from PETG filament equipped with 8 pcs. of 4 mm banana jacks and one SO-239 socket. The radials are connected via 4 mm banana plugs. The use of banana plugs allows for quick assembly. The radial wires and the outer conductor of the SO-239 socket are connected to each other with a … Weiterlesen
Raspberry Pi5 – undervoltage error
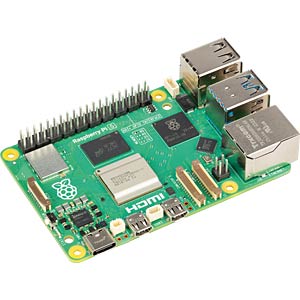
Disclaimer Reproduction is at your own risk. I accept no liability for the correctness of the information or damage that may occur. Background information During my project pihlSDR-Enclosure I encountered the problem that my Raspberry Pi5 sporadically switched itself off. After a few attempts and research, I realised that it was an undervoltage problem. I … Weiterlesen
pihlSDR-enclosure – 3D printed – Rev. A
Disclaimer Reproduction is at your own risk. I accept no liability for the correctness of the information. This documentation is not a complete set of assembly instructions. Rather, it is intended to stimulate your own creativity for your own concept. VY73 DL1EGL [3d_viewer id=“148″] The Waveshare 10.1-inch PCAP touch display is used in this design. … Weiterlesen